Cinnamon Rolls
Were you ever part of the sourdough fan club? I was! Don’t get me wrong I still love a good sourdough loaf. But my starter, Sonya, needed way more attention than I wanted to give. After a few months of baking fresh bread, I was hooked on the smell and taste of homemade bread, but so ready to say goodbye to sourdough. That’s when I dug through my kitchen gadgets and found an unopened bread machine (a wedding gift from over 5 years ago… Finally getting its moment, LOL).
Once I started using the bread maker, I couldn’t stop. First came sandwich bread, then bagels, and now these soft, gooey homemade cinnamon rolls. Honestly, I can’t believe I went so long without it!
If you’re always looking for new bread machine recipes, make sure to subscribe to my newsletter so you never miss a fresh idea or recipe launch.
Ingredients
Dough:
4 1/2 cups bread flour (plus a bit more for dusting)
1/4 cup cane sugar
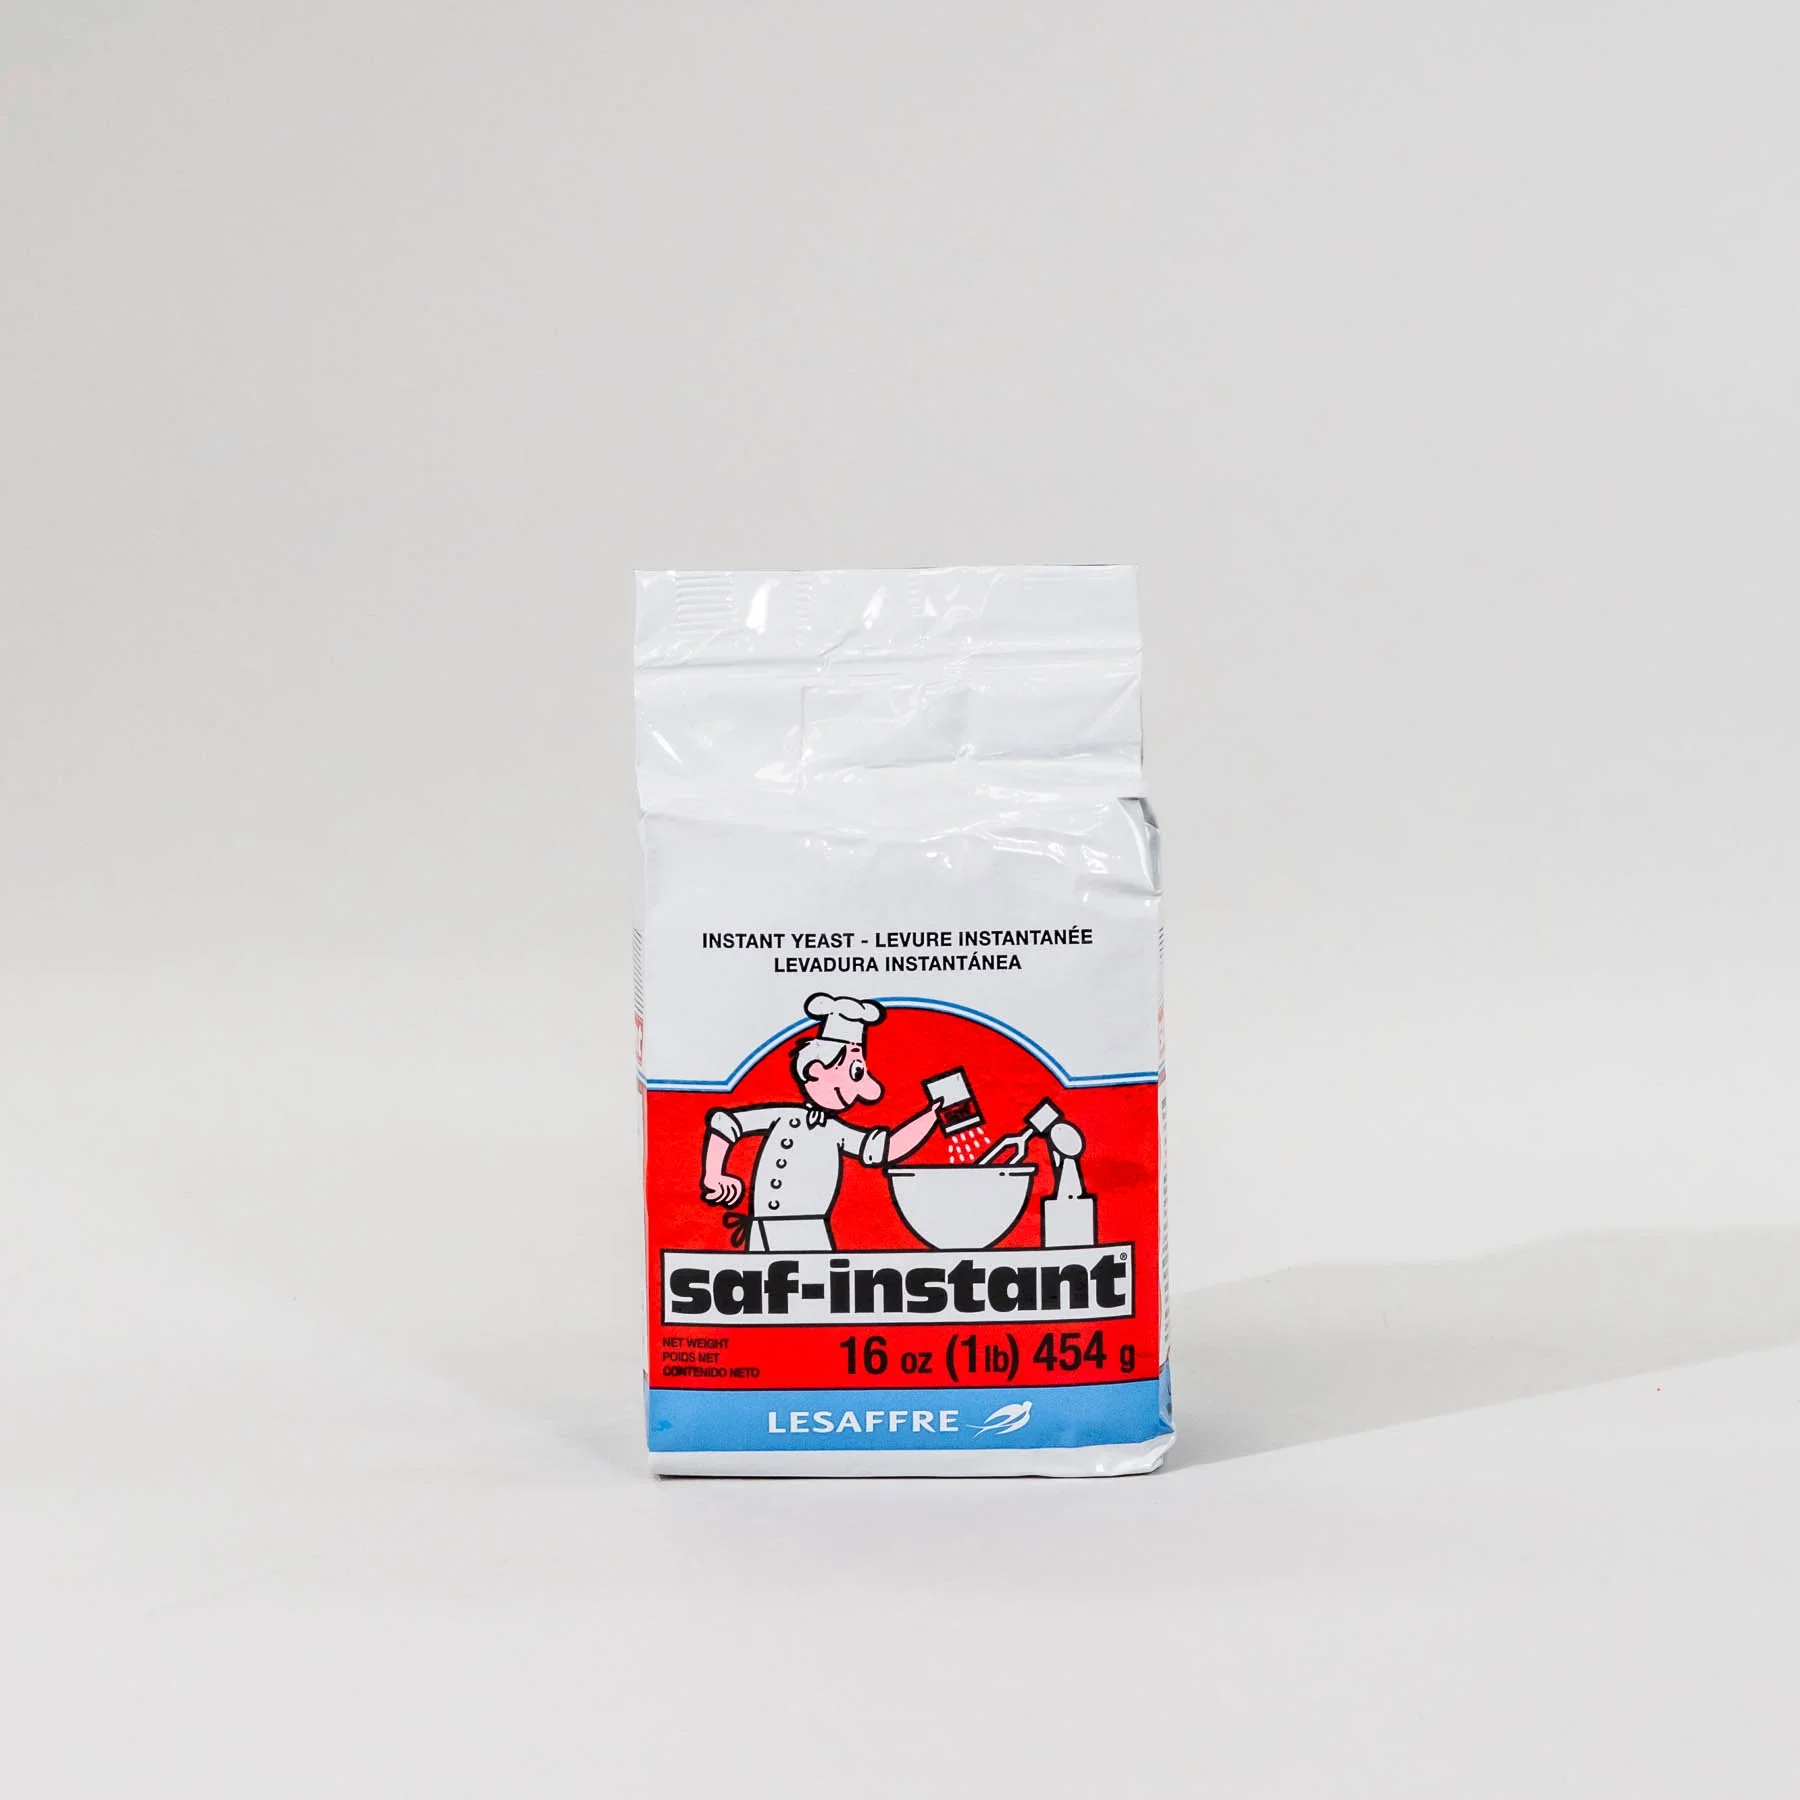
4 1/2 teaspoons yeast (my go-to is SAF Red Label Yeast)
1 teaspoon salt
1 cup lactose-free milk
6 tablespoons butter (room-temperature)
1 large egg
Filling Ingredients:
1/4 cup butter (softened, but not fully melted)
1/2 cup brown sugar
1.5 tablespoon maple cinnamon
Instructions
In your bread maker add the milk, butter, egg, sugar, salt, and flour (in that order). Then make a small well in the center of the flour and add the yeast.
Close the lid, select the Dough setting on your bread maker, and let the machine knead and rise the dough for you.
When the cycle is complete and the dough has risen, lightly flour a clean surface. Roll the dough out into a large rectangle.
Using a pastry brush, spread softened butter evenly over the rolled dough. In a small bowl, mix together the brown sugar and maple cinnamon.
Sprinkle the maple cinnamon sugar mixture evenly across the buttered dough. Gently press the mixture into the dough with your hand so it sticks.
Generously grease a baking dish with butter and set aside.
Starting at one end, roll the dough tightly into a log. Once rolled, place your hands at each end and gently squeeze to seal.
This may seem odd, but for clean, even slices, use unflavored dental floss. Slide a piece of floss under the log, cross the ends over the top, and pull through to cut perfect rolls. Repeat until the log is fully sliced.
Take each log slice and place it in your greased baking dish. It’s okay if your rolls are touching!
Drape a clean kitchen towel over your baking dish and place the dish in a warm spot. I like to turn on the oven light and place it in my oven. Leave the rolls in that spot for an hour to rise a bit more.
After the hour is up preheat your oven to 350 degrees and check on your rolls (they should have doubled in size)
Bake your rolls for about 25-30 minutes or until the tops are light golden brown. While they cool, prep your icing then top your rolls and dig in!
Equipment

If you buy something through the links above or below, I may earn an affiliate commission, at no cost to you. I only recommend products I genuinely love.